
How to Use Your New Branding Photos Across Website, Instagram & LinkedIn: The Complete Distribution Guide
- Admin

- Jan 17
- 2 min read
Congratulations! You've invested in professional personal branding photos. Now comes the real work: using them effectively to build your online presence.
Most people make the mistake of posting all their photos at once or using them randomly. This guide shows you how to create a 12-month content calendar from one photo session, maximizing ROI.wildkindphotography+1
1. Website Optimization (Static Assets)
Your website is your digital business card—photos here create lasting first impressions.
Homepage Hero: Use your Signature Hero Image (Type 7).
About Page: Feature 3-5 Storytelling Portraits (Type 2) + Professional Headshot (Type 1).
Services/Blog Headers: Rotate In-Action shots (Type 3) and Detail Flatlays (Type 4) for visual variety.
Pro Tip: Compress images for speed (use WebP format), but keep quality high. Aim for 100-200KB per image.
2. LinkedIn Mastery (Professional Network)
LinkedIn is where deals happen—your photos should scream "expert."
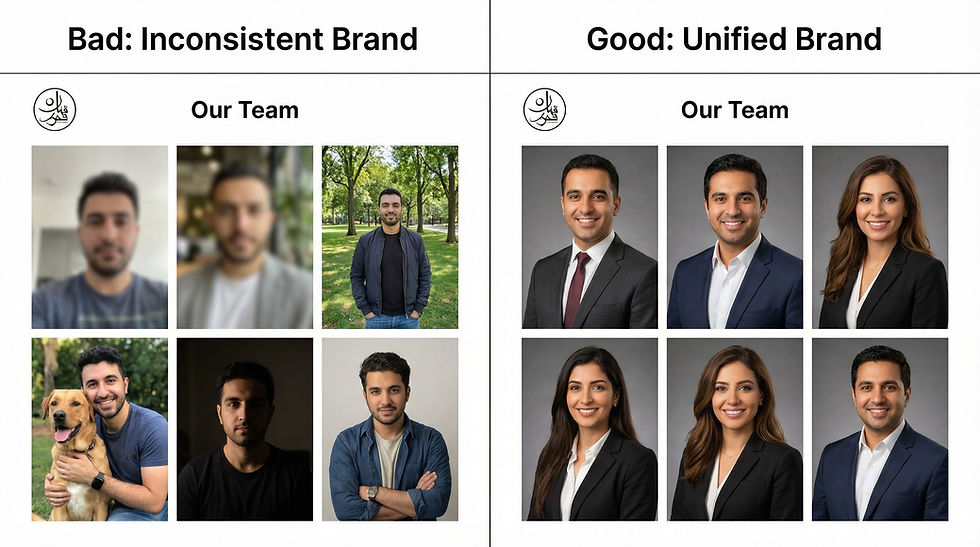
Profile Photo: Always the Professional Headshot (Type 1)—chest-up, direct gaze.
Banner/Cover: Hero Image (Type 7) or wide Location shot (Type 5).
Posts & Articles: Carousel posts with 4-6 images: Mix headshots, in-action, and storytelling. Post 2-3x/week.
Featured Section: Pin your best Hero + a carousel of "My Work Process" (Types 3 & 4).
Frequency: New photo every 4-6 weeks to stay fresh.
3. Instagram Strategy (Visual Storytelling)
Instagram rewards consistency and variety—treat it like a magazine.
Feed Posts:
Week 1: Headshot or Storytelling (Type 1/2).
Week 2: In-Action or Location (Type 3/5).
Week 3: Detail Flatlay (Type 4).
Week 4: Vertical Social frame (Type 6) with overlay text.
Stories/Reels: Use Vertical frames (Type 6) for daily engagement. Add polls, questions, or BTS clips.
Highlights: Create branded covers using Detail shots (Type 4).
Grid Planning: Use apps like Planoly to preview your 12x12 grid—aim for color harmony.
4. Content Calendar Template (12 Months from 1 Session)
With 50-100 photos from one session, here's your rollout:
Month 1-3: Heavy posting (2-3x/week) - establish presence
Month 4-6: Mix new + repurpose (1-2x/week) - build habits
Month 7-9: Stories/Reels focus - engagement phase
Month 10-12: Holiday/seasonal themes - conversion push
Month 1-3: Heavy posting (2-3x/week) - establish presence Month 4-6: Mix new + repurpose (1-2x/week) - build habits Month 7-9: Stories/Reels focus - engagement phase Month 10-12: Holiday/seasonal themes - conversion push
Repurpose: Crop, add text overlays, create carousels.
5. Tools & Best Practices
Editing Apps: Canva (text overlays), Lightroom (quick crops), Preview (grid planning).
File Organization: Folders by Type (1-Headshot, 2-Storytelling, etc.).
Analytics: Track which photos get most engagement—double down on winners.
Refresh Rule: Update profile photos every 12-18 months; rotate others quarterly.
Bonus: Call-to-Action Integration
Every photo should drive action. Add subtle CTAs:
Website: "Book a Call" button below hero.
LinkedIn: "DM to connect" in posts.
Instagram: Link in bio + "Swipe up" stories.
Turn Photos into Revenue
A great photo session is step 1. Strategic distribution is step 2.Need help planning your content calendar? We offer Branding + Content Strategy Packages.


Comments